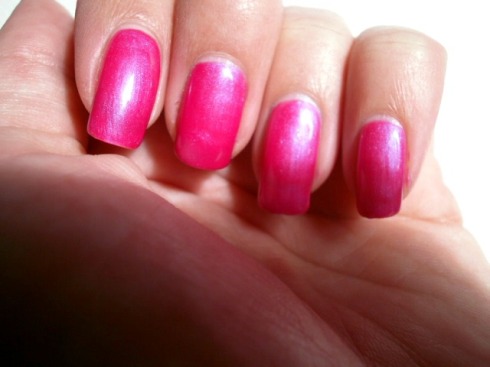
I decided that I would document my first experience of Shellac. I got these done at About You in Paisley. There was a lot of colours to chose from and I finally decided on this gorgeous pink which has a blue/purple shimmer to it. To start with your nails are shaped and a shellac base coat applied. This is then cured with the UV light. This is followed by two coats of colour, each of which is cure with the UV light. And finally a shellac top coat is applied and cured under the UV light. The nails are then wiped to remove any residue and your good to go! This took about 30 mins which I think is great and there is no sitting about waiting for it to dry.
I’m really interested to see how long this will last as I will be starting work in a hairdressers where I will be washing hair for two weeks. I start work on day 5 of having had the Shellac done. I also go to the farm everyday to feed Shug, ride him, brush him ect. I was told by the nail technician that it usually last people around 10-15 days depending on what they’re doing. Although she said that they might not last as long on me since I was going to be washing hair.
Day 3 – My nails are still perfect and beautifully shiny. I haven’t been really careful with them just doing everything that I normally do. I even managed to fall off Shug for the first time and not a chip on them. I have been applying Superdrug’s Vitamin E Cuticle Oil as it seems quite similar to the Solar Oil.
Day 5 – First day working and nails still look amazing!
Day 7 – Really can’t believe how well they’re lasting considering I’m washing hair constantly at work and having to rinse out hair dye and perm lotion.
Day 9 – My first chip! I have to admit though I’m surprised that they have lasted so well, the nail technician said that they might not last as well due to the chemicals. I decided to file my nail down so that there was no more chip and put a little spot of clear nail varnish along the top.
Day 10 – Not at work today but some how managed to get a chip one one of my thumb nails.
Day 13 – Nails still looking fine!
Day 14 – Got a chip on the other thumb nail today and my right index finger. I feel they have lasted so well!
Day 15 – I decided to take them off today. Over the course of the 15 days I have had a total of three chips! I could probably leave them on longer if I wanter but you can start to see how much my nails have grown and I find that quite annoying to look at…so it was time to remove 😦
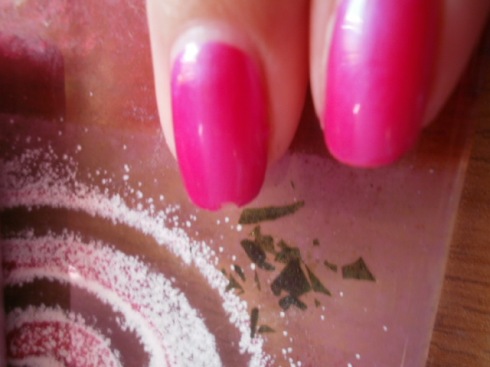
Removal – The nail technician said that I could go back in to get them taken off or she said I could take them off myself. I decided to take them off myself. To remove them she said that I should soak some cotton wool in acetone, place this on the nail and then wrap in tin foil and leave on for 10 minutes, after which the shellac should just flake off. I did this but I found that I had to leave the acetone on for 15-20 minute. There were a few bits that were a little stubborn and didn’t want to come off but I just used an orange stick to gently remove them and they came off fine. I felt like by nails are in the same condition as they were when I first had the Shellac put on so I really don’t think they they will damage your nails. I have found however that regular nail polish just doesn’t seem as nice and shiny as the Shellac does. But I am definitely getting it done again before I go on holiday 🙂
Have you tried Shellac before? What did you think of it, I’d love to know!


You can’t beat a good shellac mani/pedi. It’s so relaxing & it’s great for how long it lasts. I can’t wait to get booked in for my next one ❤️❤️❤️
Rebecca xxx
http://www.queenbeady.com
Glad they lasted so long for you. I liked the color, very glam!